Ortoklinik & Çankaya Orthopedics, Ankara, Turkey
Total hip replacement involves resurfacing of both sides of the worn hip joint with implants. A metal shell called the “acetabular cup” is placed into the socket in the pelvic bone, and a metal implant called the “femoral stem” is placed into the femoral canal. Between these two main parts, articulating surfaces made of ceramic, metal or polyethylene are placed to provide gliding motion of the joint. The stability of the artificial hip joint is provided by the muscles and soft tissues around the hip. It is essential to place the implants in correct orientation and soft tissue tension to avoid dislocation which is the disassembly of the stem from the socket. The most important advantage of robotic total hip replacement is its accuracy. Using robotic systems, the hip implants can be placed at the desired positions with much better accuracy and precision than experienced surgeons. This accuracy minimizes the risk of dislocation and differences in leg length, two major problems of conventional total hip replacement.
What are the differences between manual and robotic total hip replacement ?
The implants that are used in robotic total hip replacement are specific to the robotic system and implants from different manufacturers cannot not be used. Preoperative planning in manual total hip replacement is performed on 2-dimensional X-rays, while planning for robotic hip surgery requires a far more accurate 3-dimensional computed tomography scan. Robotics allows the correct size of the implant to be placed in the ideal position while avoiding leg length inequality. In contrast, manual hip replacement may lead to a 1-2 cm difference in leg length after surgery, which is sometimes not tolerated by the patient.
Patients with a stiff spine due to arthritis or previous surgery have a higher risk of dislocation after hip replacement. The 3-D planning in robotic systems considers the mobility of the spine in the sitting and standing positions, and adjustments can be made in the implant positions before surgery to minimize the risk of prosthetic dislocation after surgery.
The horizontal distance between the center of the hip joint and the limb axis is called the “hip off-set”. Unintended increase of off-set in manual hip replacement may lead to muscle fatigue and limping, while a decrease in off-set may increase the risk of dislocation. Hip off-set can be replicated with 1 mm accuracy in robotic surgery, minimizing these unintended consequences.
All of the above mentioned advantages of robotic hip replacement, make an already successful hip arthroplasty better and safer for the patient.
Before robotic hip surgery
A 3D computed tomography of both limbs and the pelvic bone is needed for the planning of your robotic total hip replacement. A virtual model of your legs is created and the orientation, size and placement of the prosthetic parts are planned on this virtual model (Figure 1) Your surgeon reviews this plan before surgery and approves the final version. Deformities of the lower spine also have an important effect on the stability of your hip implants. During 3D planning of surgery, impingement between the prosthetic parts or bone-implant contact is analyzed virtually using a computer simulation. Various positions of sitting, standing and activities of daily living are simulated in the 3D model, checking for impingement or abnormal contact. If present, this impingement can be corrected before surgery by changing the position of the prosthetic parts or by removing the offending bone. These measures significantly decrease the 2% dislocation rate seen in manual hip replacements.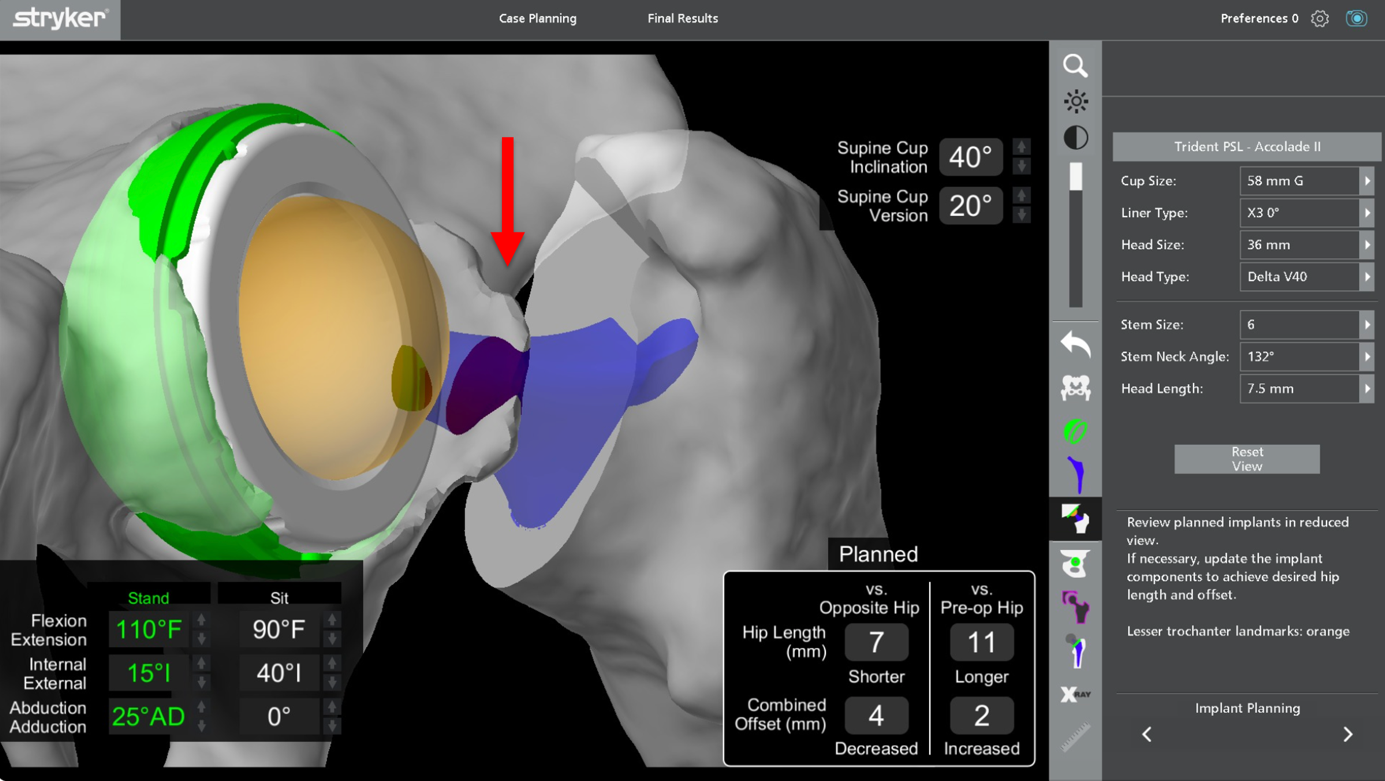
Figure 1: Pre3-Dimensional simulation of impingement during pre-operative planning. The red arrow demonstrates abnormal bone-implant contact during hip movements. The offending bone will be removed during surgery. .
During this time, pre-anesthetic work-up including blood and urine tests, EKG and chest X-rays are performed. You should inform your physician on all your medications and allergies at this time. You will need to modify all blood thinning medication such as Aspirin and Plavix one week before surgery, your surgeon will advise on how to manage your anti-coagulation medication until the day of your surgery. You will be given instructions on antiseptic treatment of your leg one day before surgery. You will be admitted to the hospital on the day of your surgery. Regional (Epidural or spinal) anesthesia is preferred however, you can discuss other options such as general anesthesia with your anesthetist.
Robotic total hip replacement
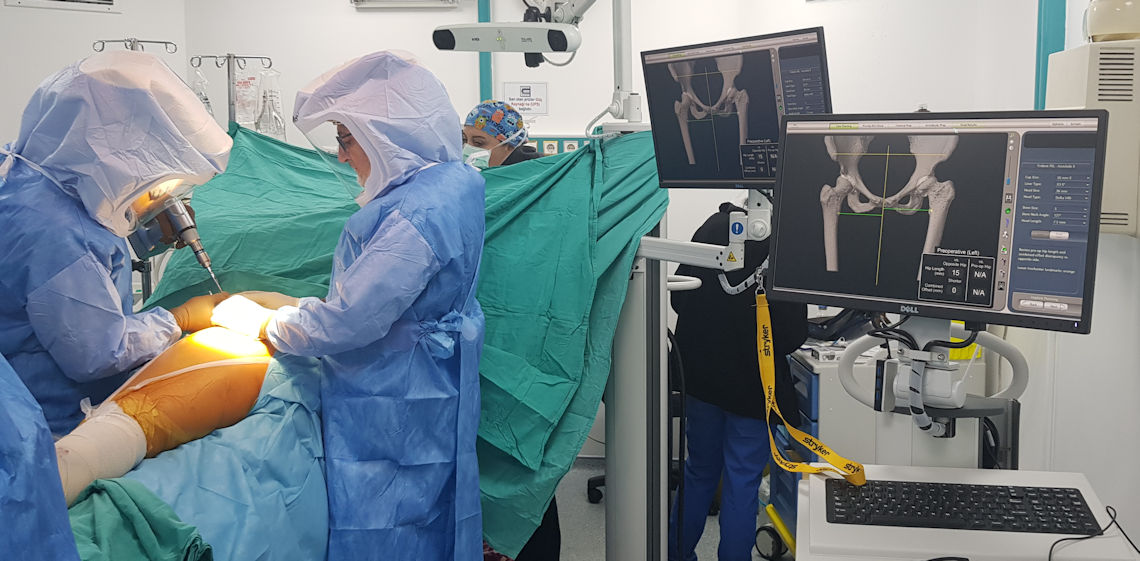
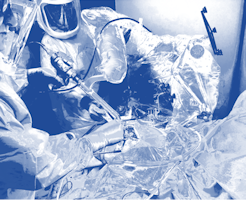
Optical trackers called arrays are placed on the pelvic and femur bones using pins. There arrays communicate with the robot and guide the surgeon during surgery (Figure 2).
Figure 2: Placement of arrays for robotic hip replacement.
The surgical exposure is made and the hip joint is defined to the robot by registering more that 50 points in various parts of the joint (Figure 3). This registration matches the virtual model created from the CT scan and the robotic system is now ready to guide the surgeon.

Figure 3: Registration of the hip joint during robotic total hip replacement.
The robotic system calculates leg length differences in millimeters and lets the surgeon lengthen or shorten the hip as needed. The femoral head is dislocated from its socket and the robotic system guides the surgeon on the exact location of the femoral cut. Sequentially larger bone reamers called rasps are used to prepare the femoral canal. These rasps also function as trial implants and the robotic system guides the surgeon to achieve the exact angle of placement. The next step is the preparation of the acetabular socket. This is performed with hemispheric reamers attached to the robotic arm. The robotic arm allows an accuracy of 1 mm and 1 degree during this reaming, ensuring the surgeon is in line with the preoperative plan (Figure 4).
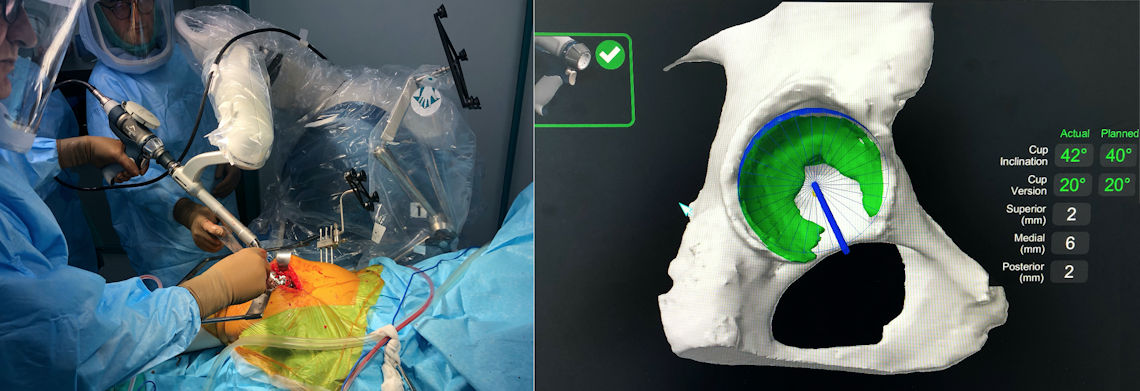
Figure 4: Reaming of the socket with the robotic arm.
The leg length and stability is checked with the trial implants in place and if satisfactory, the trials are removed and the original implants are placed. Modular heads of varying sizes are available for the surgeon to change the leg length up to 2.5cm. The final construct is tested with the robotic system and the outcome is documented for future reference (Figure 5).
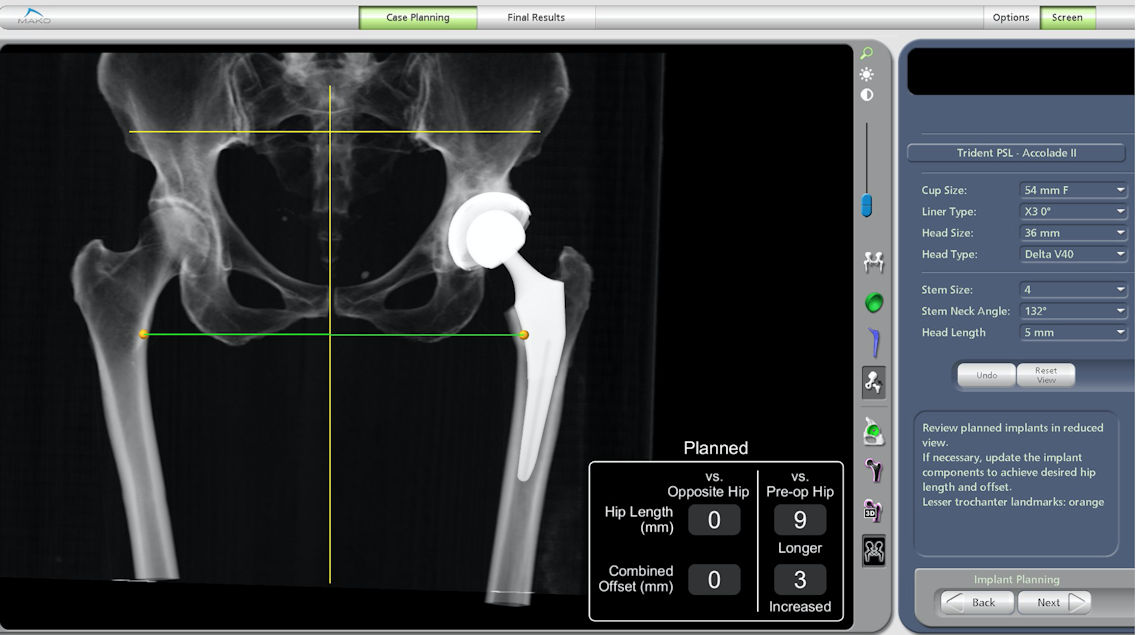
Figure 5: Final testing of the implants with the robotic system. Leg length before and after surgery can be compared and adjusted.
Two types of fixation are used for modern hip implants; cementless and cemented. Direct bone ingrowth on the porous titanium or hydroxyapatite surface of the implants is possible in patients with good bone quality. These patients receive cementless implants and account for almost 90% of the patients undergoing hip replacement. Initial fixation of the implants is achieved with a tight fit of the prosthetic parts and screws in the cup. Bone ingrowth occurs in 6-8 weeks and the implants become a part of the body after this time. Patients with osteoporotic bone need cement fixation of the implants to ensure that they stay in place. These implants have different surface properties from cementless implants. Your surgeon makes sure that both types of implants and instrumentation are available during your surgery, and chooses the best option after assessing your bone quality and stability achieved with trial implants. Once the definitive implants are in place and stability and leg length have been checked with the robotic system, the arrays and checkpoints are removed and the wound is closed in layers. A long acting anesthetic medication is injected to the soft tissues around the hip for pain control. Drains are not usually needed after robotic hip replacement.
After robotic hip replacement
Once you have recovered from anesthesia and regained muscle control, you can partially bear weight on the operated leg on the day of your surgery and stand up with help of a walker. A pillow between your legs is advised to reduce the risk of dislocation until the healing of soft tissues have occurred in a few weeks. This pillow should be between your legs when turning to your side in bed. Low toilet seats increase the risk of dislocation, a raised toilet seat is needed to prevent this and makes it easier for you sit up and down. Pain control is achieved by intravenous or epidural patient controlled anesthesia (PCA) pumps. These devices let you control the amount of pain killers as needed and have built in safety measures prevent overdosing your medication. The PCA pumps are usually discontinued after the first day.Antibiotics are given for 24 hours to prevent implant infections, no benefit of longer antibiotic treatment has been shown. Anti-coagulants (blood thinning medication) are used up to 30 days depending on your risk profile to prevent blood clots forming in your legs. These can be in the form of tablets such as Aspirin or Xarelto or self-administered injections under the skin.
Physical therapy under the supervision of a physiotherapist is begun on the day after your surgery. Instructions on sitting and getting out of a chair, picking up objects from the ground and wearing socks are given. Stair climbing exercises begin on the second day and you will be free to walk around with a walker or a similar assistive device. An X-ray of your hip is taken on the second day (Figure 5). Drains are removed at 24 hours if used (Figure 6).

Figure 6: X-ray images of the knee of a patient with advanced arthritis before and after left robotic total hip replacement.
You will be given an “implant passport” containing information and the barcodes of all the implants placed in your knee. It is essential that you keep this passport in a safe location since it contains essential information regarding the type and properties of your implants should the need for a change of parts rise in later years. You can also document that you have metal implants in your body for airport security and metal detectors.
 TÜRKÇE


